AAR - Sabre Squadron in Imagi-Nations Africa
I finally put Sabre Squadron on the table top this evening. I am pleased with the game, as much of it as I got try anyway. On with the show...
The setup:
The MCC rebels are running a convoy north to M'podo. Since the area they are traveling through is contested, they're expecting trouble. As they approach the bridge over the Gama Boga River, something startled a flock of birds. The lead trucker noticed this and alerted the convoy to expect trouble ahead. Troops dismounted and spread out. The escorting armored cars went off-road hoping to get around the flanks of whatever forces the WPA had ahead.
The forces:
MCC Attackers (Poor Morale) - 3 platoons of 4 automatic rifle teams, 1 RPG and 1 LMG.
3 V100 Armored Cars with twin turreted .50 cal HMGs
4 Trucks
WPA Defenders (Average Morale) - 2 platoons of 5 automatic rifles and 1 bazooka.
1 M8 Greyhound Armored Car with 37mm gun and HMG
The MCC has to break through the roadblock and exit trucks off the far end of the road. The WPA is simply try to stop the convoy.
My seven-year-old son volunteered to play the MCC guys since they had more stuff. I played using the WPA.


That turned out nicely! I was pretty happy with the Sabre Squadron rules. Being a first-run, there was a lot of rules flipping, but that's normal. Morale and motivation tests, unusually, were an easy matter to pass and neither force was in any danger of collapsing at any time. Lucky rolls, really.
I have two nagging questions that I'll probably take to their forums.
1) Can small arms fire at and affect Soft Vehicles? I ruled that it could during this game.
2) Do multiple Suppressed and Neutralized results on a model have any sort of cumulative effect? Does a second "S" become an "N?"
Aside from those minor points, I liked how the game moved and will definitely put it back on the table with more toys - tanks, guns and artillery!
The setup:
The MCC rebels are running a convoy north to M'podo. Since the area they are traveling through is contested, they're expecting trouble. As they approach the bridge over the Gama Boga River, something startled a flock of birds. The lead trucker noticed this and alerted the convoy to expect trouble ahead. Troops dismounted and spread out. The escorting armored cars went off-road hoping to get around the flanks of whatever forces the WPA had ahead.
The forces:
MCC Attackers (Poor Morale) - 3 platoons of 4 automatic rifle teams, 1 RPG and 1 LMG.
3 V100 Armored Cars with twin turreted .50 cal HMGs
4 Trucks
WPA Defenders (Average Morale) - 2 platoons of 5 automatic rifles and 1 bazooka.
1 M8 Greyhound Armored Car with 37mm gun and HMG
The MCC has to break through the roadblock and exit trucks off the far end of the road. The WPA is simply try to stop the convoy.
My seven-year-old son volunteered to play the MCC guys since they had more stuff. I played using the WPA.

The table layout. My starting platoon and armored car are deployed. My second platoon is not yet deployed and won't be until my first turn. The Militia guys will be entering from the near table edge.

The Militia Campaign for the New Congress convoy (minus their trucks)

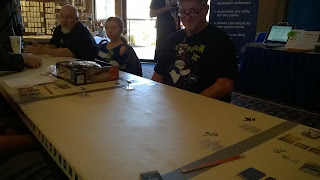
The MCC kid-in-chief. His forces have just entered the table. He had just finished making a "throat cut" gesture at me. I was giving him advice on troop deployment. My Armored Car had a very commanding position down the road which would be a real gumball-alley.

My second platoon is deployed. Both sides of the river are covered. All of my infantry is in light cover and because it hasn't moved or fired, can only been spotted from 6 inches away. For the near-term, my infantry is in great shape.

My Armored Car reaches out and brews up an enemy AFV! The convoy is now in line formation off the road. The infantry advances slowly through the cover of the woods. The MCC commander learns that he'll have to keep his vehicles out of sight of my Greyhound until he can get shots on it.

A view from my end. My AC was in a terrific location. Too bad I didn't have three more of those things!

Turn 4. The Greyhound snaps off some fire at the troops to the left of the road, killing a stand! Godzilla makes a brief appearance.

Turn 5. I suggest to Cameron that he take some shots at my Armored Car. The machinegun fire is impressive and Neutralizes my Armored Car! There is also discussion about putting the trucks back on the road and running the gauntlet with them, so they make their way back onto the road and prepare to do their best Mad Max impression. At this point, the lure of cartoons on TV was too much for him and he handed the reigns to me. I continued the game solo, following his battle plan.

My platoon east of the bridge fired at the lead truck, causing enough damage to wreck it! On the other hand, they'd given their position away and would now be receiving enemy fire!

Which is exactly what happened. The MCC platoon opposite them fired a steady stream into the dictator's troops, suppressing and neutralizing some teams.
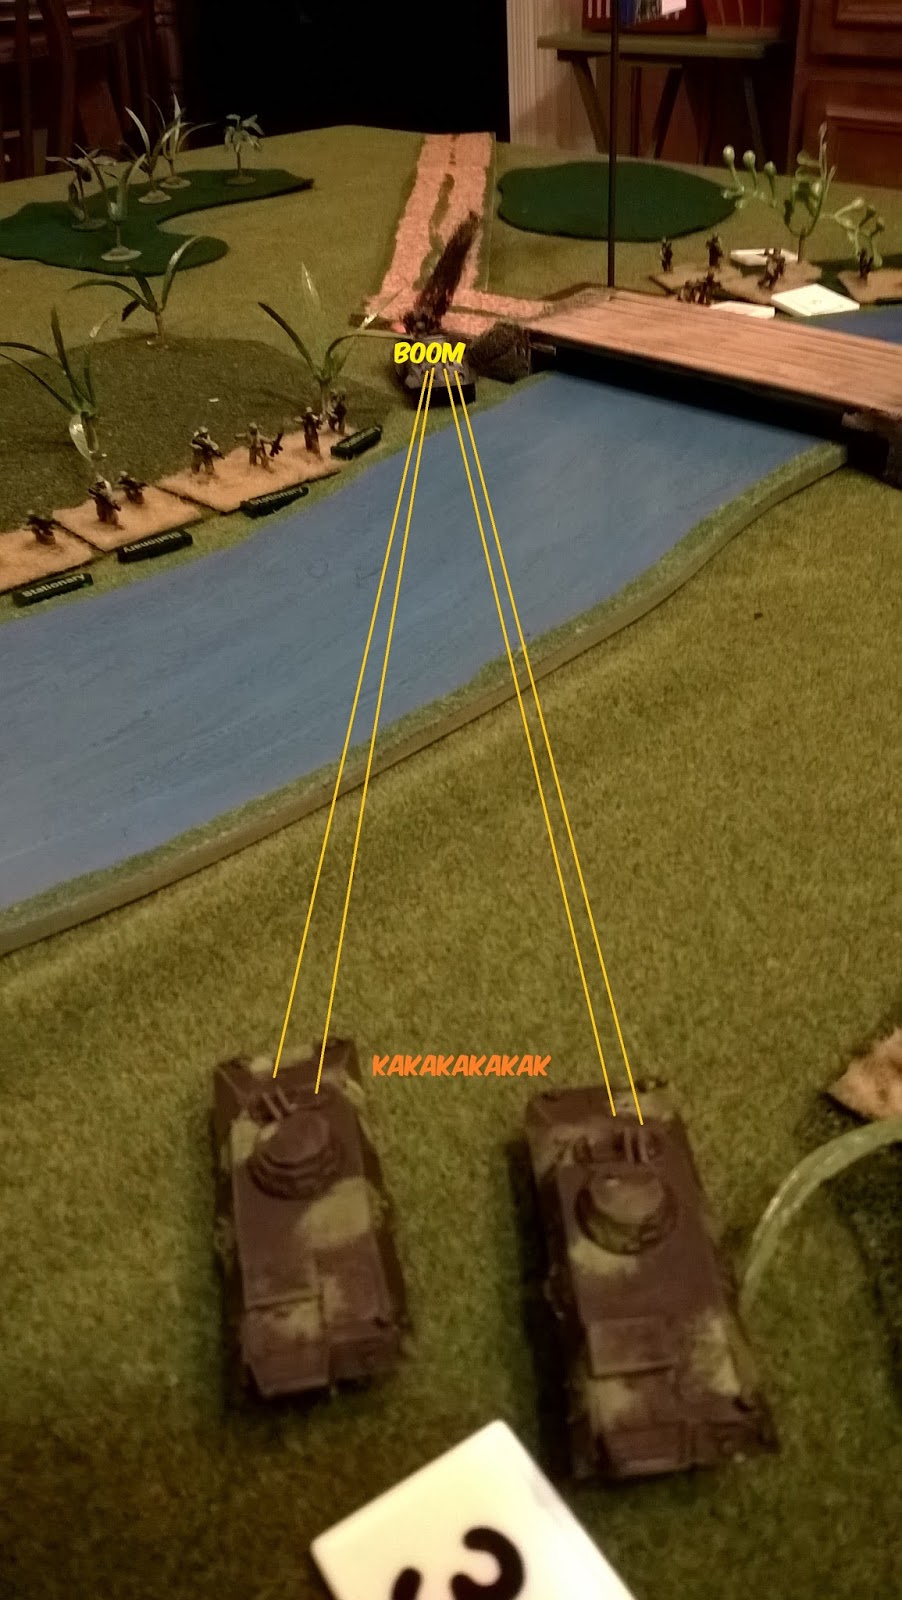
The blasted Commandos take advantage of my Armored Car's neutralized status and hammer it with heavy-caliber rounds, destroying it. This is not good!

The WPA troops nearest them fore at the infantry in the woods causing some disruption and a bazooka is fired at one of the ACs but misses wildly.

The trucks begin crossing the bridge. I ruled that only one truck could cross the bridge at a time (since it is a rickety wooden thing).

The rebel troops in the woods fire back at the government soldiers and cause significant casualties! Half of the platoon is eliminated.

But the lead halftrack is hit by a bazooka rocket and a hail of automatic weapons fire causes the driver to bail out of the blue truck, blocking the bridge! The driver of the green truck pulls it off the road trying to get out of sight!

The rebel rabble cause further misery, two more stands gone from the platoon opposite them! The platoon at the top of the picture is falling back voluntarily - they'd just been victimized by a tremendous round of firing.

The Armored Cars spin about and finish off the platoon. That bazooka team had missed all of its shots - three or four - at them!

But my other bazooka team again blasts another truck. The blue one goes up in flames.

With no way to push the wrecks out of the way and three of the four convoy trucks destroyed, the MCC forces pull back. A bloody victory for the Dictator's army.
That turned out nicely! I was pretty happy with the Sabre Squadron rules. Being a first-run, there was a lot of rules flipping, but that's normal. Morale and motivation tests, unusually, were an easy matter to pass and neither force was in any danger of collapsing at any time. Lucky rolls, really.
I have two nagging questions that I'll probably take to their forums.
1) Can small arms fire at and affect Soft Vehicles? I ruled that it could during this game.
2) Do multiple Suppressed and Neutralized results on a model have any sort of cumulative effect? Does a second "S" become an "N?"
Aside from those minor points, I liked how the game moved and will definitely put it back on the table with more toys - tanks, guns and artillery!

Great AAR, Ski.
ReplyDeleteHope you posted it to the Sabre Squadron BATREP/AAR section on the forum as well as your rules questions. The author is usually really good at getting back to rules queries.
Love it and hope to see more of the fighting between the MCC and WPA!
Always great to see some Father/Son gaming!
ReplyDelete